
Servlets in Tomcat, Part 1
Introduction
It's been a couple of years since I've done anything serious using Tomcat, or used Java for anything other than Android. So I thought I'd write a series of HOWTOs to refresh my knowledge a bit. I hope you find this useful.
I'm going to write these at a level that I would like to read myself, which means I'll assume you're an experienced developer new to Tomcat. I'll be telling you exactly what code to use and a complete set of steps to get going for our primary items (e.g. the servlet), but I won't be holding your hand through every dialog box for secondary items (e.g. installing Virtual Box, using the shell, etc). My goal is to keep this concise enough to be useful without needing to skim, but please let me know if anything is unclear or you'd like additional detail for any of the steps and I'll try fix it.
Server setup
Because we want to start from a clean, nicely reproducible environment, let's do it in a VM. I'm using OS X 10.7 as my host environment, but anything that supports Virtual Box, Java, and Tomcat should do. (That's at least Windows, Linux, and OS X but possibly others too.)
- Install Virtual Box.
- Download Ubuntu Server 12.04 LTS 64 bit
- Create a new VM with 1024 MB of RAM and bridged networking.
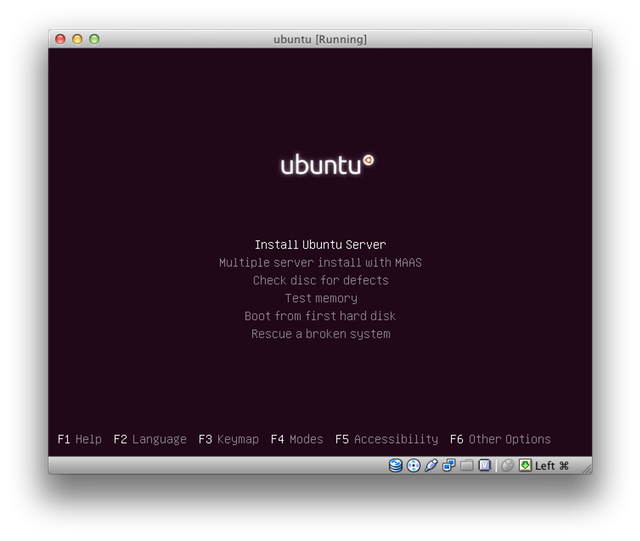
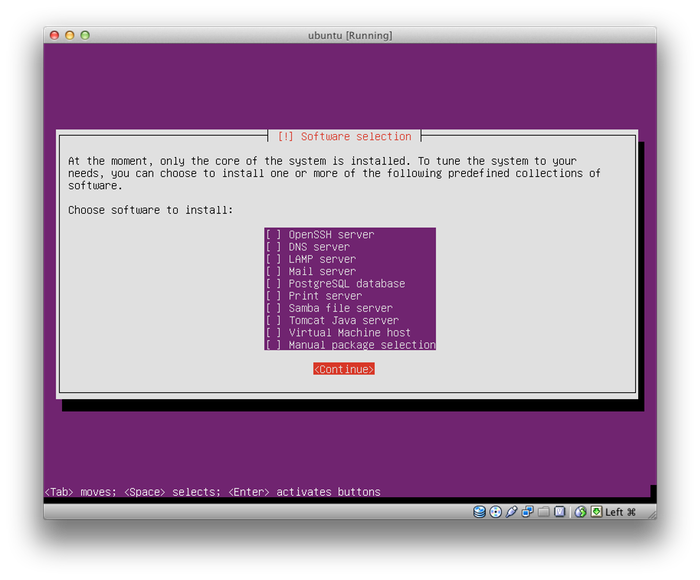
- Boot the VM using the Ubuntu .iso and install with defaults.
Do not install the tomcat stuff here, we'll do it later by hand, just in case you're following along from home on an already installed box, or a different distro entirely.
Finally, get the box patched and accessible over ssh:
sudo apt-get update
sudo apt-get upgrade
sudo apt-get install openssh-server
Now log out of the console and login via your favorite ssh client.
Tomcat setup
Install tomcat:
sudo apt-get install tomcat7 tomcat7-docs
# Note: can also install tomcat7-examples
This will install a bunch of things, let it fly. When it finishes, check for sanity by browsing to http://vmhostname:8080, or http://vmhostname:8080/docs
You may wish to take a snapshot of your VM at this point, so you can get back to this nice clean slate.
Tomcat project
On your development machine, install Java. I'm using the OpenJDK, but you may also wish to use the official Oracle Java. Also install Ant, and a local copy of Tomcat (you'll need the Tomcat libraries to build our project, you can also test locally if you wish).
This basic example is taken heavily from the information here. I even started with the example application on that page, but found it to be missing a few files (like the ant build xml file). So I expanded it into what we have here. We're going to be creating the following files and directories:
build.properties
build.xml
docs/
lib/
src/com/example/test/BasicTomcatTest.java
web/index.html
web/myjsp.jsp
web/WEB-INF/web.xml
I'll list them all in turn.
build.properties (makes version control easier by separating out things likely to be different on different people's boxes):
# Customize this to your local tomcat install
tomcat.dir=/Users/username/apache-tomcat-7.0.27
build.xml (the ant build file):
<?xml version="1.0" encoding="UTF-8"?>
<project name="MyTest" default="compile">
  <property file="build.properties" />
  <property name="appname" value="MyTest" />
  <property name="appversion" value="0.9" />
  <property name="src.dir" value="src" />
  <property name="web.dir" value="web" />
  <property name="lib.dir" value="lib" />
  <property name="build.dir" value="build" />
  <property name="dist.dir" value="dist" />
  <property name="publish.dir" value="${tomcat.dir}/webapps" />

  <path id="project-classpath">
    <fileset dir="web/WEB-INF/lib" includes="*.jar" />
    <fileset dir="${tomcat.dir}/bin" includes="*.jar" />
    <fileset dir="${tomcat.dir}/lib" includes="*.jar" />
  </path>

  <target name="mkdirs">
    <mkdir dir="${build.dir}" />
    <mkdir dir="${build.dir}/WEB-INF/classes" />
    <mkdir dir="${build.dir}/WEB-INF/lib" />
    <mkdir dir="${dist.dir}" />
  </target>

  <target name="compile" depends="mkdirs">
    <javac srcdir="${src.dir}" destdir="${build.dir}/WEB-INF/classes" classpathref="project-classpath" />
  </target>

  <target name="build" depends="compile">
    <copy todir="${build.dir}" includeemptydirs="false">
      <fileset dir="${web.dir}" />
    </copy>
    <copy todir="${build.dir}/WEB-INF/lib" includeemptydirs="false">
      <fileset dir="${lib.dir}" />
    </copy>
  </target>

  <target name="dist" depends="build">
    <jar jarfile="${dist.dir}/${appname}.war" basedir="${build.dir}"/>
  </target>

  <target name="publish" depends="dist">
    <copy todir="${publish.dir}">
      <fileset dir="${dist.dir}" />
    </copy>
  </target>

  <target name="clean">
    <delete dir="${build.dir}" />
    <delete dir="${dist.dir}" />
  </target>

  <target name="all" depends="clean,compile" description="re-build all source"/>

</project>
src/com/example/test/BasicTomcatTest.java (our servlet, just a Hello World):
// Straight from the Tomcat docs, the only change is the package name and class name
package com.example.test;

import java.io.*;
import javax.servlet.*;
import javax.servlet.http.*;

public class BasicTomcatTest extends HttpServlet {

    public void doGet(HttpServletRequest request, HttpServletResponse response)
    throws IOException, ServletException
    {
        response.setContentType("text/html");
        PrintWriter out = response.getWriter();
        out.println("<html>");
        out.println("<head>");
        out.println("<title>Hello World!</title>");
        out.println("</head>");
        out.println("<body>");
        out.println("<h1>Hello World!</h1>");
        out.println("</body>");
        out.println("</html>");
    }
}
web/index.html (Static resource):
<html>
<head>
<title>Hi There From Tomcat</title>
</head>
<body>
<h1>Sample Application</h1>
<p>Basic sample test here.  Adapted from the <a href="http://tomcat.apache.org/tomcat-7.0-doc/appdev/index.html">Apache Tomcat docs.</a>
<p>Click on a link to a <a href="myjsp.jsp">JSP page</a>, or a <a href="myservlet">servlet</a></p>
</body>
</html>
web/myjsp.jsp (Basic JSP, we'll get more advanced later):
<html>
<head>
<title>My JSP Page</title>
</head>
<body>
<h1>My JSP Page</h1>
<p>Some static text</p>
<p><%= new String("Some dynamic text") %></p>
</body>
</html>
web/WEB-INF/web.xml (This guy tells Tomcat about the webapp):
<?xml version="1.0" encoding="ISO-8859-1"?>
<web-app xmlns="http://java.sun.com/xml/ns/j2ee"
  xmlns:xsi="http://www.w3.org/2001/XMLSchema-instance"
  xsi:schemaLocation="http://java.sun.com/xml/ns/j2ee http://java.sun.com/xml/ns/j2ee/web-app_2_4.xsd"
  version="2.4">
  <display-name>My Test Application</display-name>
  <servlet>
    <servlet-name>MyServlet</servlet-name>
    <servlet-class>com.example.test.BasicTomcatTest</servlet-class>
  </servlet>
  <servlet-mapping>
    <servlet-name>MyServlet</servlet-name>
    <url-pattern>/myservlet</url-pattern>
  </servlet-mapping>
</web-app>
Building and Deploying
To build this guy, just do ant dist. It will create the dist\MyTest.war file, which is a "Web Archive" file containing the static and dynamic resources that Tomcat will need to serve up your web app. The entire app is contained in this one file, which makes deployment very easy. (Though it makes incremental changes to a running system more difficult.) You can publish to the local tomcat using ant publish.
When you're ready to copy up to the server, just scp the war file over:
scp dist/MyTest.war vmhostname:.
Then, on the vm:
sudo mv MyTest.war /var/lib/tomcat7/webapps/
Tomcat will unpack the war file and deploy the webapp. You don't even have to restart anything. Browse to http://vmhostname:8080/MyTest, and you should be up and running.
Conclusion
This was a really basic example, just to get you going. I wanted to show the core servlet and jsp functionality in a tomcat webapp without using a big complicated IDE like Eclipse. Eclipse is great, and will save you time. Please use it when you understand the basics. But it does a bunch of things under the hood which can be distracting when you're learning. The enterprise Java world is full of technologies and acronyms that all start with J. They work well together and make a great universe for developing software once you understand them. But it can be overwhelming to learn all at once, so I'm trying to give you some basics with as little dependencies as possible. Future entries in the series will expand our world bit by bit.
That's all for now, happy Tomcat-ing!